Count Broccula's veg-head ramblings

My home experiments with vegetarian cooking. Focused on seasonal produce with some vegan stuff thrown in for good measure. I may include random other food-related stuff as I please.

Wednesday, July 14, 2010

Rustic plum tart

Rustic plum tart with half-whole-wheat crust


I didn't use a real recipe for this. I poked around online a bit to see if I had enough plums (I guesstimated that I had about 2 pounds), and the internet seemed to agree -- two pounds was plenty.

I used my mom's foolproof recipe for pie crust. I was almost out of white flour, so I replaced just about 2/3 of the flour with whole wheat. I like the flavor of whole wheat anyway. I rolled it out into about a 14" circle. Then I sliced up the plums, laid them in sort of concentric rings, hid the ugly slices at the edge, and folded the outside edge over.

The best plum tart I ever had was at a local restaurant about ten years ago, and it benefitted from just tasting like fresh plums -- there wasn't a bunch of nutmeg or something, and not much sugar, either. In fact, it was almost mouth-puckeringly tart. I modeled mine after that one.

I didn't add any seasonings, no flour in the plums to thicken them up, no apricot glaze... I toyed with not adding anything at all, but at the last minute, I sprinkled about half a tablespoon of sugar over the top of the plums

I baked it at 350 degrees for about 35 minutes.

Okay, so here's the deal. It wasn't bad. But it wasn't what I wanted, either. The whole wheat was a little overwhelming both texturally and flavor-wise. The recipes I'd seen all said one to two pounds of plums was plenty, but I really wanted a higher plum-to-crust ratio. And finally, I used the wrong kind of plums. I used whatever kind came from my CSA this week, and they happened to be quite sweet, whereas some varieties of plum are very tart. I needed the tartness in this dish.

So it was fine, it was okay, it wasn't bad*. But I would do a lot of things differently next time.

*My two-year-old begs to differ. She said "Yuck! I don't like it. It's bad. I don't want any more. Take it away. Did you give me a treat? Why was it yucky?"

Pizza! From (really really) scratch.

Well, I was on a sourdough roll (pun intended). I decided I'd try a pizza that came from a sourdough starter. Apparently, the dough doesn't really get its rising power from the starter, but it gets the flavor from it. Well... good, because it didn't rise much. I rolled it out thinly on parchment paper and threw it onto the pizza stone in a hot oven. I baked it for about ten minutes, then pulled it out and let it sit for a while. I topped it with my favorite pizza toppings (for the record, sauteed oyster and shiitake mushrooms with garden-grown onions, black olives, veggie sausage and mozzarella), then threw it back in for another ten minutes or so.


Here is what I thought: The crust had GREAT flavor. No, it was fantastic. On the other hand, I know some people love crispy, thin crusts, but I am not one of them. I really love chewy, doughy, thick, bready crusts. I don't think I've ever turned down a pizza, so I eat thin crust, too, and as thin crusts go, this one was good. But it wasn't MY favorite kind.

If thin and crispy is your bag, here is the recipe I used. Good luck!

Tomato-stravaganza

I took a tomato canning class on Saturday. We made two things and watched the instructor make a third. First, we canned tomatoes just plain with no seasoning. No salt, even. We simply peeled and quartered the tomatoes, chopped a few and cooked them down to make a sauce, and then packed the jars. It wasn't anything I hadn't read about in the Ball Blue Book, but it did give me a certain level of comfort with the process, so that alone was probably worth the time and money.


But the revelation was the second thing we made, tomato jam. Honestly, at first the idea kind of turned my stomach. But my stomach is never turned for long; as we prepped the ingredients, I started brainstorming things I could do with it. Soon, the instructor came by and someone else asked how to use the jam. She suggested using it on grilled meats or in place of ketchup. I had a different idea. That night, I popped open my little jar, sliced a baguette, and spread the slices with chevre. I then topped each with a dollop of the tomato jam. It was heavenly. Even my kid couldn't get enough.

Thirdly, she made a marinara while we watched. We sampled it, and it was so different than the jarred sauces in the grocery store. It was very thin and pale, but at the same time you could really taste the freshness of the tomatoes. I think I may make that as well. You can always doctor it up later with whatever else you want. She even said I could add a few olives or mushrooms without disrupting the acid levels in the sauce too much.

The upshot is that I do feel more comfortable, I did come away with some recipes I'll use, and I even have a new passion for tomato jam. At the end of class, she announced that there's another canning class at the end of August, this time focused on peaches. But I sort of feel confident with canning now, and if I choose to can peaches, I believe I can handle it.


Monday, July 12, 2010

Adventures in sourdough

Well, I decided I wanted to try bread-baking. I have made loaves here and there, but I don't make very many yeasted breads because of the time involved. If you know me, you know that although I love to cook, I don't want to rope myself to the kitchen all day. Still, bread seemed like a challenge I wanted to undertake.


When making sourdough, you have a couple options. You can buy dry sourdough yeast from the grocery store, you can order sourdough starter (many people order it from King Arthur flour), or you can catch some wild yeast. I like a wild card, so I went with the last option.

Essentially, you just put flour and water in a crock or jar, add a little more every 12 hours (or 24, but the web site I thought seemed most trustworthy said 12), and wait for it to get bubbly/frothy and start doubling in volume. For about the first four days, it wasn't doing much, but then suddenly it did! I had bubbles, I had doubling... so I decided on Saturday to make bread.

I knew that the starter wasn't doubling as fast as some do, so I decided to give it plenty of time to proof and rise, and I let it go through three rises.

I proofed it overnight, then sort of got busy in the morning and left the starter sitting around until afternoon. Then I mixed the dough and kneaded it. All it called for was a bit of oil, salt, water, and flour. I chose to go with whole wheat, since I like the flavor. I let it rise three times, and it didn't quite double each time, but almost.

Now, sourdough gets more of that sour flavor the longer it takes to develop, so it didn't bother me that this became an all-day process. The rise may have been slow, but I felt it would enhance the taste.

Finally, just after 8 in the evening (after I'd put the baby to bed), I pre-heated the oven. I had found numerous different cooking methods, and the web site that I was mostly following just said to cook it at 350, but several other sites recommended starting it at a high heat, throwing some water in it to steam the crust, then turning the heat down. I turned the oven to 500 with my baking stone on the lowest rack. Then I left the room for a minute. When I came back, there were flames in the oven.

Yeah, I had forgotten that I'd spilled some pizza toppings in the bottom of the oven, and they totally combusted. I put them out, let everything cool down so I could clean it, then started over again.

When the oven had come to temperature, I threw a shot glass full of water onto the sides of the oven, then quickly shut the door. A few minutes later, I slid the bread, on parchment paper, onto the baking stone. After 5 minutes, I was supposed to turn the heat down and bake it for another 18, I think. I got it out, tapped the bottom to see if it sounded hollow (I guess it did), and left it out overnight, since I didn't want to cut into it until breakfast. I was really nervous about it.

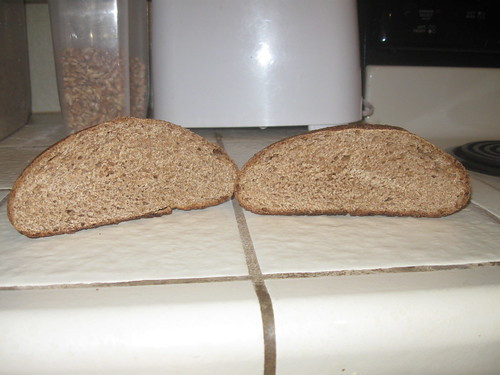
But it was great! It wasn't the super-airy, hole-y texture you get with some breads -- it was fairly dense. But I don't mind dense breads, and it toasted up really nicely. Just as I had hoped, the sour flavor was really present, although not overwhelming, and we had a lovely breakfast.

My first whole wheat sourdough
(Incidentally, this photo is of the two end pieces after we ate the whole middle!)
Coming up soon -- the sourdough pizza crust and the tomato canning class.

Monday, July 05, 2010

Strawberry jam

I have recently decided to try canning, and wanted to start with something fairly simple that I would eat the dickens out of. I LOVE strawberry jam, so it was an easy pick. I started by buying a half flat of strawberries at the farmers market. I probably only really needed about three pints, but I was also making ice cream, and we eat a lot of them as well.


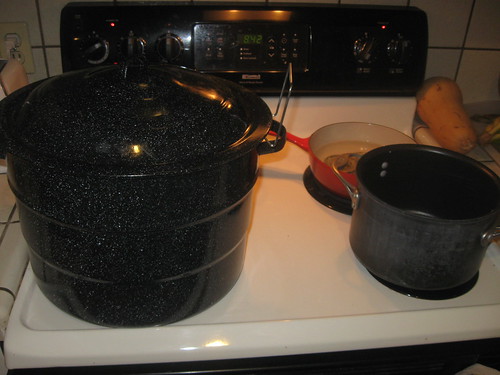
First, I set out all my materials.
IMG_2009

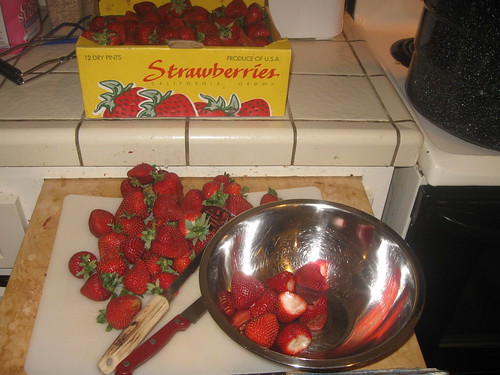
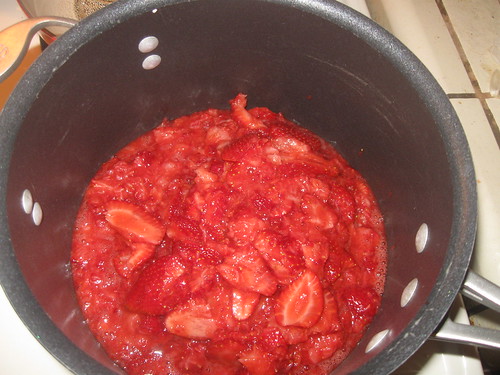
I sliced up strawberries and mashed them with a potato masher until I had four cups.
IMG_2010

IMG_2011

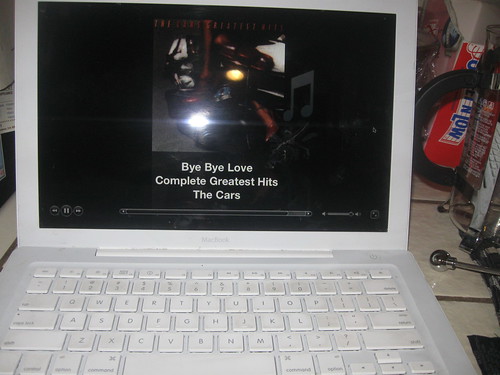
Then I added four cups of sugar (it's a lot, I know) and some lemon juice. I also put on some jamming (get it?) music. I'm going to recommend it as a crucial ingredient.
IMG_2012

In the canner is water coming up to a boil. In the red pan are the lids. The jam has the thermometer in it. The old-fashioned way is to just bring it to a rolling boil, but I am nervous about correct temperatures. I also do my candy with a thermometer -- I never trust the methods for testing whether it's at "soft ball" or whatever.
IMG_2013

It came up to temperature fairly quickly. I had memorized the steps for putting things in the cans and canning them, but I was still a bit edgy about it all. The worst case scenario is botulism. Anyway, I put the jam in the first jar, wiped the rim, put on the lid and ring, and set it into the can holder thing. But it was off-balance! I couldn't figure out how to get it not to tip the darn thing over. I finally just set it in the middle. The next two were easier to balance.

I then dropped the contraption into the water. The Ball canning book I'd read said the pot needed to be about half-full of water in order for the jars to be covered when you lowered them. It also said I'd "get the feel for it." Well, I guess I didn't have that, because they weren't covered and I had to hurriedly add more hot water to cover them, then bring it all to a boil. I had looked up the water processing times for strawberry jam, and the times varied from 5 to 15 minutes. Once recipe noted that too short a processing time wouldn't seal the jars and kill bacteria properly. Another said that too long a processing time would lead to dark, runny jam. I erred on the side of caution and went with 15 minutes.

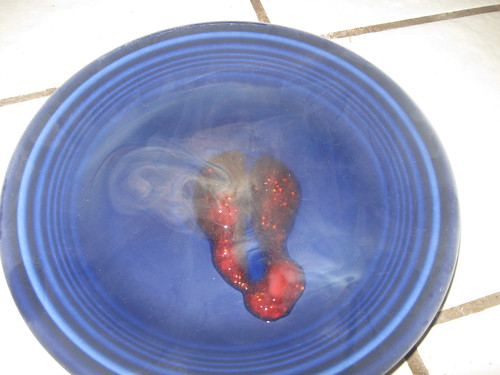
Oops, I almost forgot the cold plate test to see if it jelled!
IMG_2014

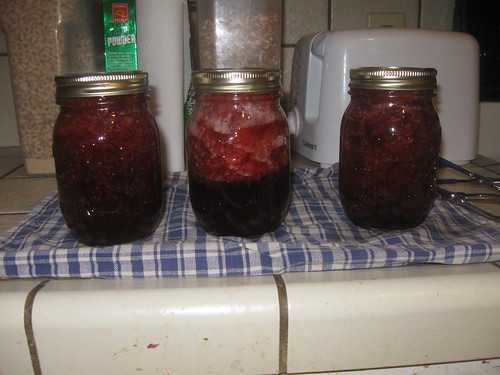
Here's the finished product.
IMG_2015

There were just a few tablespoons left after I'd canned it, so I toasted half a pita and spread the jam on. It was heavenly.

A few things I learned: If you're making a small batch with only three quart-sized jars, you definitely need to boil more water than half the pot.

Although it was delightful, I also wouldn't mind if it were a bit less sweet, so I might look for a different recipe next time. (For reference, I used this one.)

Canning was not as intimidating as I thought. I tested the jars this morning, and they had all sealed properly. It also took only an hour, all told. For someone like me, who actually enjoys cooking and baking and candy-making, it was a pleasant way to spend an hour.

One of my jars had all the fruit float to the top. No one online can seem to come up with a single answer as to why, but all said that stirring and skimming the foam off can prevent it. Many people recommended turning or rolling the jars while they're setting. They also all said it didn't affect the taste; you just have to stir it up before using it.

I'm taking a class on canning tomatoes on Saturday, and then I'm on my way to canning greatness! Keep your eye on this space for that, and my adventures in sourdough.